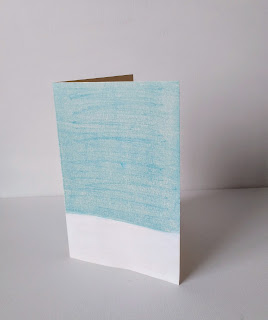
Here's a DIY Christmas card with lots of twinkle.
You'll need the following supplies to make the Christmas tree card:
One 8.5" x 11" sheet of ivory card stock
One blue chalk pastel
White acrylic paint
Craft felt, 5.5" x 8.5" piece
Small scrap of brown craft felt
Spray fixitive (I used Krylon Kamar Varnish, but hairspray will work, too.)
One gold star 15mm sequin
Multi-color 8mm sequins
Gold #11 seed beads
Red Sharpie
Craft glue
Double-sided tape or glue stick
Christmas tree template (download HERE)
You'll also need the following tools:
Paint brush
Scissors
Straight edge and mat*
Pointed envelope opener*
Beading needle or small needle and thread**
*These items are used to score the card stock along the center where it will be folded. You can just fold the card stock instead, but scoring it first usually makes for a neater folded edge.
**Seed beads are tiny, so, if you don't use a beading needle, check to make sure you can pass your needle through a size 11 seed bead before you begin.
First, score the card stock. Using a straight edge on a hard surface, such as a quilter's mat, run the point of a letter opener all the way down the center.
Paint the bottom of the card stock with white acrylic paint. Do not add water to the paint.
Allow the paint to dry thoroughtly before spraying the card with fixitive. Caution: if you're using the Kamar Varnish or a similar artist's fixitive, follow instructions on the can. Spray outside when there is no wind. Wear a mask and protect your eyes.
Download and print the Christmas tree template. Tape the template to the green felt.
Cut out the tree of green felt and also cut out the small trunk piece of brown felt. If you don't have any brown felt on hand, you can improvise by using a brown Sharpie to color on a scrap of green felt to make the trunk.
Decide where to place the sequins you'd like to use to decorate your tree. If you're concerned about exact placement, make a tiny dot with the tip of a pin for each sequin. Thread your needle with a double thread and knot the end.
To sew a sequin, bring the needle up through the back of the felt, into the center of the sequin; pick up a gold bead with the tip of the needle; and slide gold bead down, into place in the center of the sequin. Take the tip of the needle over the bead to its side and stitch back down through the center hole of the sequin. Secure the thread with a knot on the back.
Add a tiny dot of craft glue on top of the knot for added security. Stitch all of the sequins to the tree in the same manner, and place the gold star sequin at the top of the tree.
Fold the card along the scored line.
Position the tree and trunk in the center of the front of the card. Use double-sided tape or glue stick to adhere the tree and trunk to the the card.On the inside, write your Christmas greeting with a red Sharpie.
When you're ready to send the card, add your personal notes and signature with the red Sharpie. Use a padded bubble envelope for mailing to protect the sequins and beads.
Merry Christmas!


